NES controller tutorial
Try the demo!
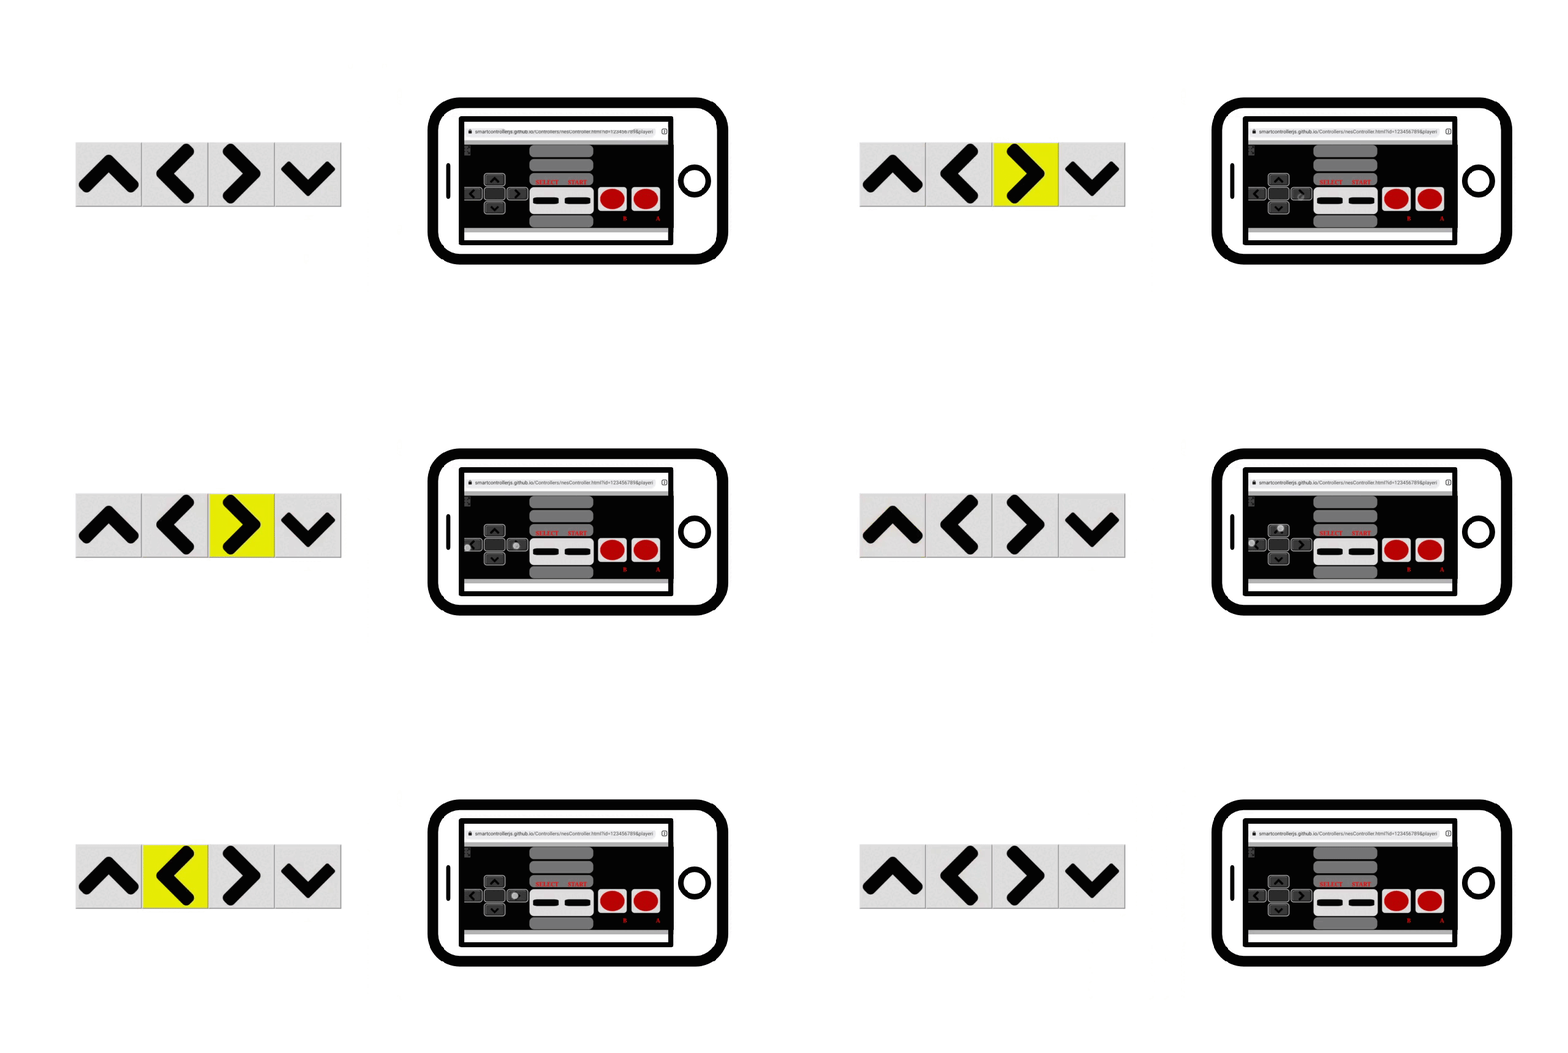
This tutorial will show you how to create a simple website demo to process data from NES controller. Everytime an arrow key is pressed it is highlighted on the screen. Source code and html file.
First create an empty html and js files, then start by editing the javascript file:
-
Add the smartcontroller library:
// Use the import statement for webpack or a different bundler
import "smartcontroller";
OR
//Add this tag to your html file <head> <script src="https://unpkg.com/smartcontroller@3.2.4/dist/smartcontroller.min.js"></script> </head> -
Create the NES smart controller object and the QR code:
const simplePeer = new smartcontroller.NesSmartController("123456789"); simplePeer.createQrCode( "https://smartcontrollerjs.github.io/Controllers/nesController.html", "qrcode", 150, 150, "1" ); -
Add a function to continually process the data and call it:
//a function that checks if player 1 is connected
//if yes then check the arrow keys to highlight the buttons
function processData() {
  if (simplePeer.controllerList[1]) {
    //store the controller to access its fields
    //the dictionary key is 1 because a player ID has been specified, otherwise the peer ID from smartphone will be used
    var controller = simplePeer.controllerList[1];
    var button_id = ["up", "down", "left", "right"];
    //check if up button is pressed, if yes change the background colour from gray to yellow
    //then do the same for the remaining arrows
    for (var id of button_id) {
      if (controller.buttons[id]) {
        document.getElementById(id).style.backgroundColor = "#e9ec06";
      } else {
        document.getElementById(id).style.backgroundColor = "#dddcdc";
      }
    }
  }
  requestAnimationFrame(processData);
}

processData();
Now for the html file:
-
Create a div for the QR code:
<div id="qrcode"> <p> Scan the QR code to connect! </p> </div> -
Include your js script:
<script src="controller_receive.js"></script> -
Make some buttons (you can find the images here ):
     <div class="btn-group">
         <button id="up"><img src="images/up.png" width="100px" height= "100px"></button>
     </div>
And that’s it! Your first smartcontroller website should be up and running!